What a professional on-site survey looks like and what to prepare before we arrive
Every experienced fabricator and installer knows one unwritten rule: walls are never perfectly straight and floors are never perfectly level. That is why a precise on-site survey is the clear line between a fast, painless installation and a full day of grinding, shimming and patching on site.
For contractors and investors, visiting the site and professionally recording the existing conditions is the first real step of any serious project. In this article we go through what the measuring process covers, which details we watch most closely, and how you can prepare the space so everything goes quickly and without errors.
Why precise measuring is crucial for every project
When we draw 3D models and workshop drawings, we create perfect geometry in a virtual space. The real world on site, however, is far from perfect. Corners in rooms are rarely exactly 90 degrees, concrete slabs have dips, and the plaster on walls varies in thickness.
That is why measuring is not just holding a tape against a wall. It is a process of finding reference points, checking diagonals to determine how "out of square" a space is, and recording every obstacle such as pipes, sockets or unevenness. If you rely only on the architect's design drawings (which show the ideal state) instead of the actual built conditions, your steel structure or metalwork simply will not fit.
Precise data from the site lets us anticipate tolerances during workshop preparation, leave room for seals, or plan installation joints with slotted holes for easier fine-tuning.
A measuring error of just one centimetre can mean the entire assembly has to be cut and re-welded — which directly costs money and time.
Measuring for a railing: what has to be checked
Balcony, yard and staircase railings look like simple elements, but they hide a series of technical traps. A professional railing survey requires checking a number of details before the first line is drawn in the CAD program.
First we check the substrate the railing mounts to. Is it bare concrete, tile or stone? If tile is already laid, the drainage slopes must be checked — a railing that follows a sloped floor line must be specifically designed so it does not look "tilted".
Then the mounting method is defined — and almost everything else depends on it:
The railing sits on top of the slab. The load capacity and condition of the anchoring substrate are checked.
The railing fixes to the face of the balcony. The thickness of tiles, adhesive, screed and insulation is measured for the exact anchoring depth.
We check whether there is a drip edge that interferes with the brackets and whether the walls are parallel.
With side mounting we also specifically check whether there is a drip edge that could interfere with the brackets. We also measure the exact distances between walls and check whether those walls are parallel, so the railing does not have to be forcibly "angled" during installation. You can also check indicative railing prices in our railing calculator.
Measuring a staircase: the most demanding part of the on-site work
Metal staircases (whether interior, exterior, spiral or straight) are the most demanding part of metalwork from an engineering standpoint. Measuring a staircase tolerates no improvisation, because ergonomics, safety and passing the technical inspection all depend on it.
When measuring for a staircase, the most important figure is the total height between finished floors — from the finished floor of the lower level to the finished floor of the upper level. Care must be taken about the thickness of the final coverings (parquet, tile) if they are not yet laid. The total available floor-plan length is also measured to calculate the ideal ratio of riser height to tread depth.
Special attention goes to the "headroom": the thickness of the floor structure is measured so that a person of average height does not hit their head on the ceiling while climbing.
If an existing concrete staircase is being clad, absolutely every tread and riser is measured, because in practice concrete staircases often have deviations of several centimetres between the first and last step. We later iron out all those irregularities through precise workshop drawings.
What the process looks like and what we measure with
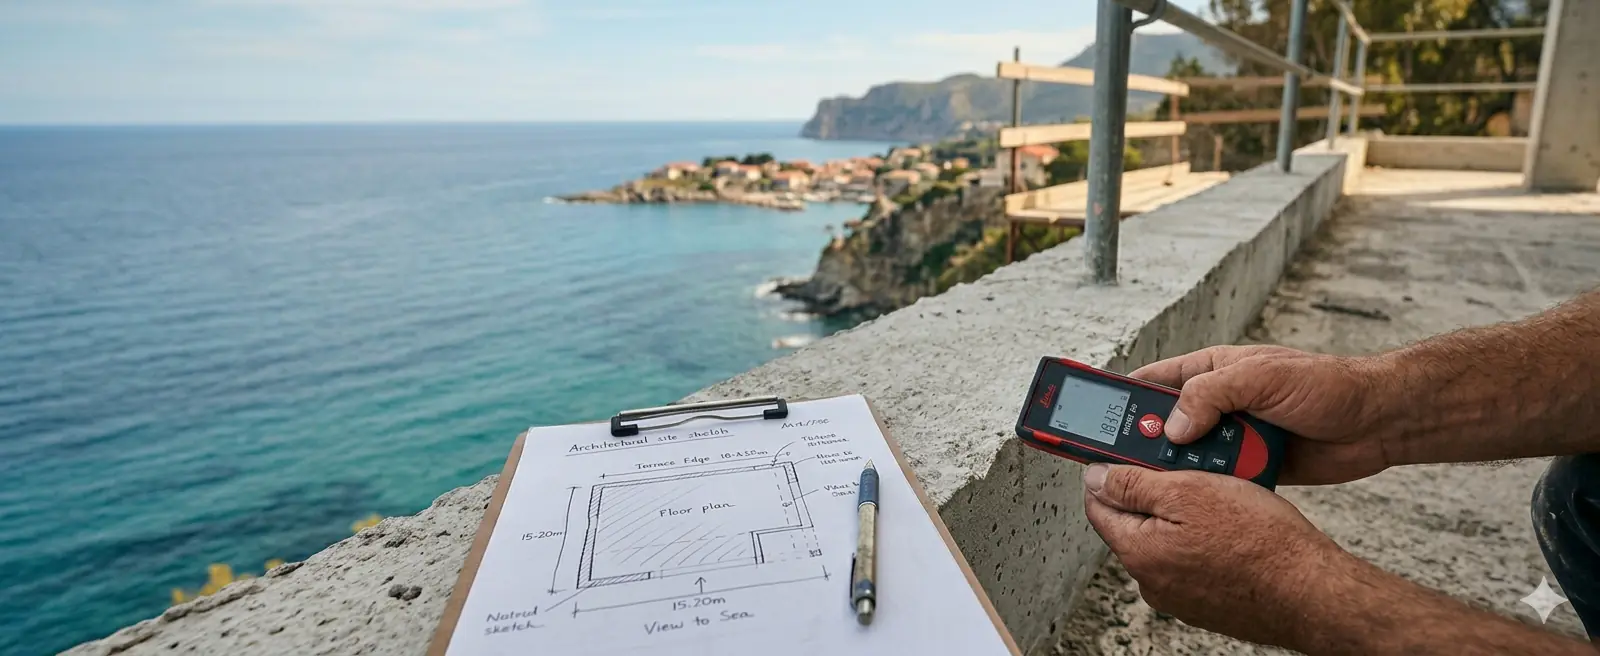
The days of measuring purely "by eye" with a cloth tape are long gone. Today a professional on-site survey means using precise equipment. The process usually starts by establishing a zero reference point (the level line) from which all other height levels are derived.
A cross-line or rotary laser sets the zero line (level) — the base for all height levels.
A laser rangefinder measures lengths without the "sag" error of a tape over large spans.
For precise details of existing steel profiles we have to connect to.
Besides the numbers, a key part of the survey is photography. All details, corners, connections and potential obstacles are photographed. These photos later help us in the office while building the 3D model, to make sure we did not overlook a heating pipe or a junction box that would interfere with the structure. Finally, everything is sketched and checked mathematically on the spot — the sum of the individual measurements must always match the overall measurement.
What the client should prepare before the surveyor arrives
For the measurements to be accurate and usable for producing technical documentation, the site or space must be at a certain stage of completion. A premature survey is wasted money. Before the site visit, be sure to provide the following:
- Defined floor heightsIf the floors are not finished, a clear level line must be marked on the walls (usually 1 m above the future finished floor), along with the exact thickness of the planned screed and tile or parquet.
- Plastered wallsIf elements are installed between walls, the walls must be plastered. Plaster can take up several centimetres on each side — an element made to the "bare" wall ends up too large.
- Cleared spaceWhere measuring takes place there should be no rubble, tools, material pallets or scaffolding that blocks sightlines and prevents the laser from being used.
- Presence of a decision-makerIdeally the investor or main contractor is present at the survey, so details such as anchoring points or the direction a door opens can be agreed on the spot.
Conclusion
Whether it is a simple canopy, an industrial platform or a designer staircase, a precisely taken measurement is the foundation of every good execution. It lets us perfectly replicate your space in 3D models and prepare workshop drawings by which your workshop will do the job smoothly, without stress and without later alterations.
Planning a project? You can check the approximate cost of a site visit in the survey calculator.
Arrange an on-site survey